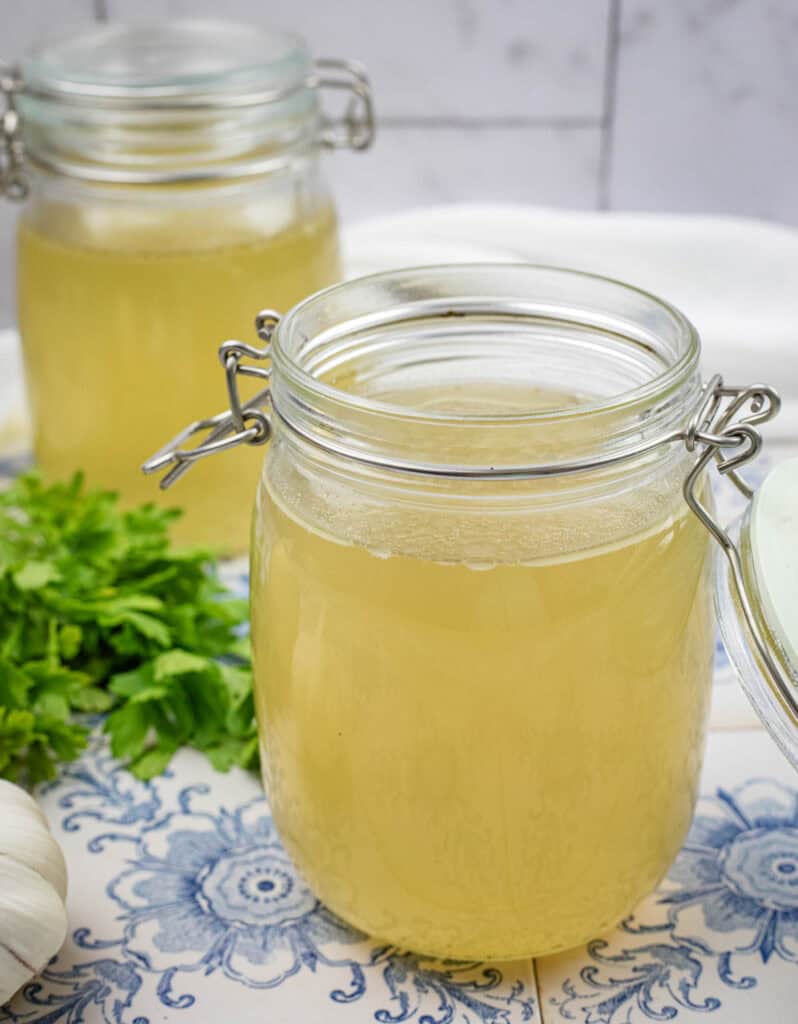
Homemade Chicken Broth
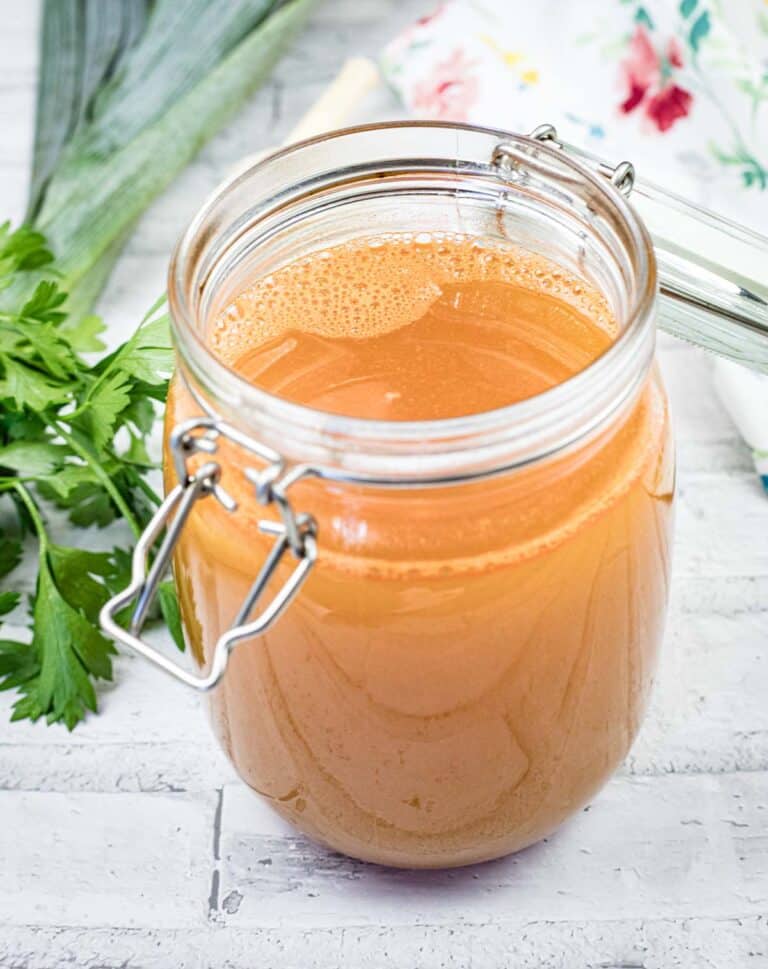
Great soups start with great broth or stock, and the quality of your broth or stock can take a soup from ok to amazing. Sure, store-bought broths are quick and easy, but their flavors re never quite as good as homemade chicken broth. If you’ve got a big Dutch oven or soup pot, then this is the chicken broth recipe for you!
I always have frozen chicken broth on hand so that it’s ready to make amazing soups. I also have homemade ham and beef broth in the freezer, but I’m a soup over-achiever 🙂 But do yourself a favor: If you’re going to make soup from scratch, take the extra time to make the broth from scratch too. It’s delish!

What’s the difference between broth and stock?
There’s not a lot of difference between them. Broth and stock differ mainly in their ingredients and uses. Broth is made with meat and sometimes bones, creating a flavorful, ready-to-eat liquid that’s great for soups. Stock, on the other hand, uses mostly bones, giving it a richer, gelatinous texture that’s ideal for adding body to sauces, stews, and gravies. While broth cooks for a shorter time and has a stronger taste, stock is simmered longer to draw out collagen, resulting in a subtle, versatile base. In short, broth is flavorful and drinkable on its own, while stock provides a rich, neutral foundation for other dishes.
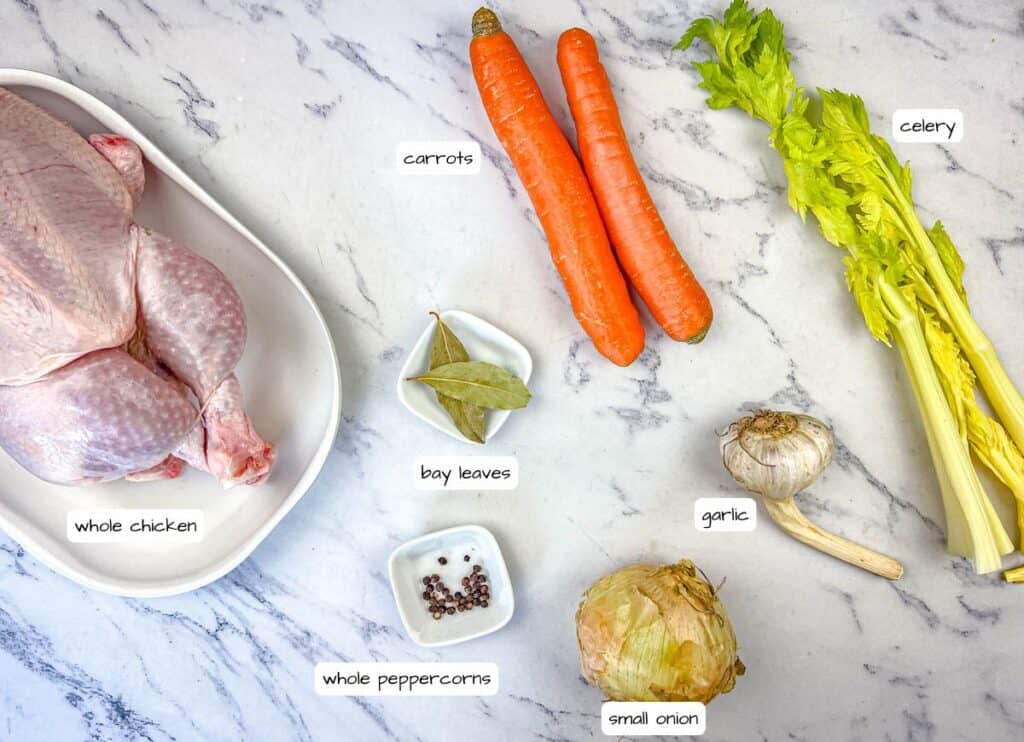
Ingredients
- Whole chicken – Cut up.
- Carrots – Peeled and cut into chunks.
- Celery stalks with leaves – Cut into chunks.
- Small onion – Quartered.
- Garlic cloves – Smashed.
- Bay leaves
- Whole peppercorns
- Water
How to Make Homemade Chicken Broth in a Dutch Oven
- Prepare your ingredients by cutting up the chicken and chopping the vegetables. Keeping the vegetables in large chunks helps them infuse the broth with flavor while making them easier to strain out later.
- Add the chicken pieces, carrots, celery, onion, garlic, bay leaves, and peppercorns to your Dutch oven.
- Pour the water into a 3.5 quart (or larger) Dutch oven, making sure it covers all the ingredients. If you have a particularly large Dutch oven, you can add a little more water, but the 14-cup mark is a good guide.
- Bring the mixture to a gentle boil over medium heat. Once it starts boiling, reduce the heat to low, so it reaches a steady simmer.
- Simmer uncovered for about 3-4 hours, uncovered.
- Skim off any foam or impurities that rise to the surface every so often. This will keep your broth clear and give it a cleaner taste.
- Check the broth’s flavor after a few hours. If it tastes rich and satisfying, it’s ready. If you prefer a more concentrated flavor, let it simmer a little longer. You may need to top up the water but some evaporation will help to condense the flavor.
- Strain the broth by pouring it through a fine-mesh strainer into a large bowl or another pot.
- Pull the meat from the bones once the chicken carcass is cool enough to handle. You can add the chicken to soups and stews or make chicken salad from it.
- Cool the broth slightly before transferring it to storage containers. For easy storage, portion it into smaller containers or freeze it in ice cube trays for quick access to smaller amounts.
Step-By-Step Process


Chef Jenn’s Tips
- Roast the chicken pieces and vegetables beforehand for an even richer, more complex flavor.
- Leave the skin on the chicken for added flavor and richness, but skim off excess fat after cooking if desired. I chill the soup overnight and then the fat just peels off the top.
- Don’t rush the simmering process; low and slow is key to extracting deep flavors. You want a bare simmer – just a few bubbles breaking the surface.
- For a golden, clear broth, avoid stirring too much as it cooks, and skim the surface periodically.
- Add herbs like thyme or parsley for added depth if you want a more aromatic broth.
Make It a Meal
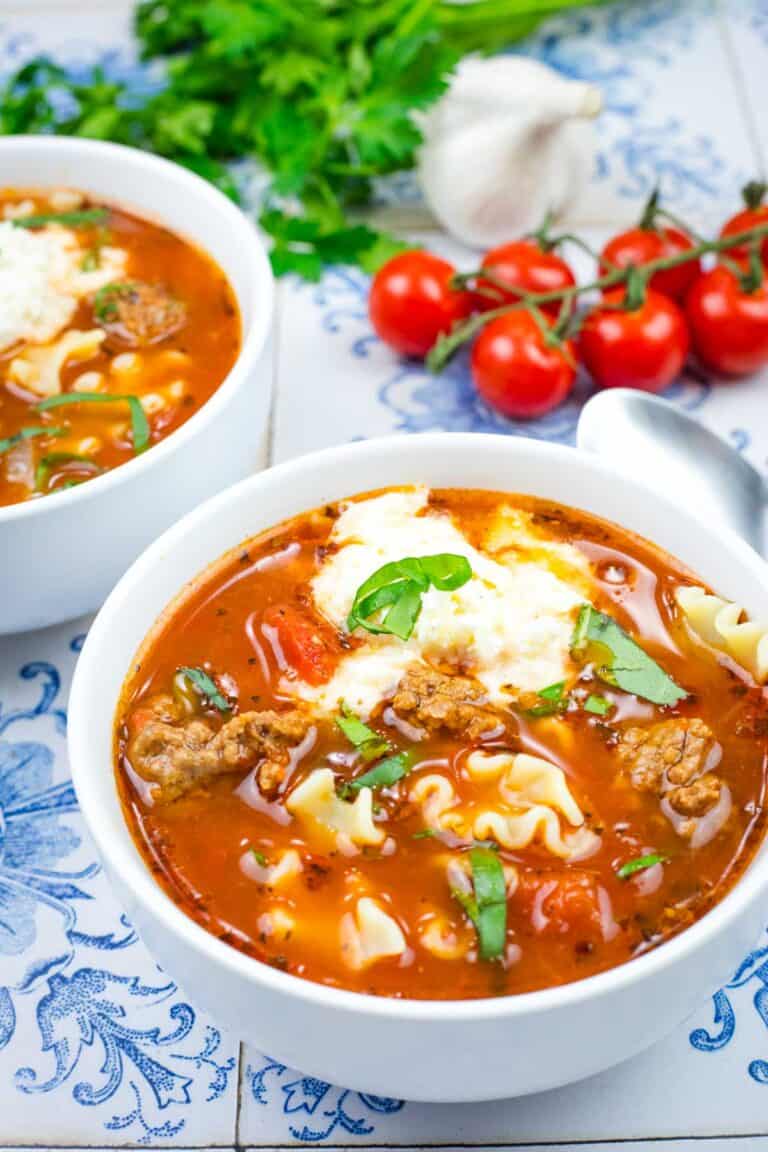
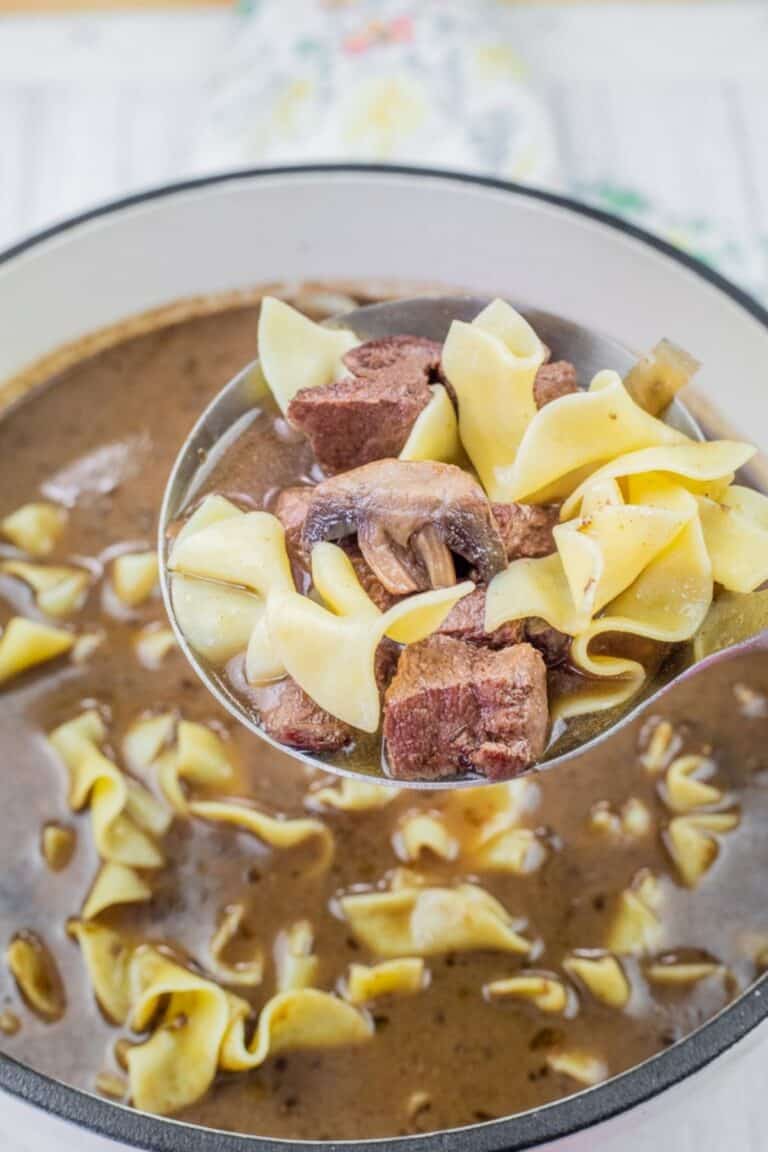
Homemade chicken broth is a fantastic foundation for a variety of dishes. Use it to create nourishing soups like Slow Cooker Taco Soup, add it to risottos for extra flavor, or use it as the base for sauces and gravies. It’s also a wonderful addition to any stew, helping to deepen flavors and add richness. Or, simply enjoy it on its own with a sprinkle of herbs and a slice of crusty bread for a comforting, wholesome snack.

Storage
To store your homemade chicken broth, let it cool to room temperature, then transfer it to airtight containers. It will keep in the refrigerator for up to five days. For longer storage, freeze the broth in containers, freezer bags, or ice cube trays. Frozen, the broth will last up to three months and can be thawed as needed for a quick, flavorful addition to your meals.
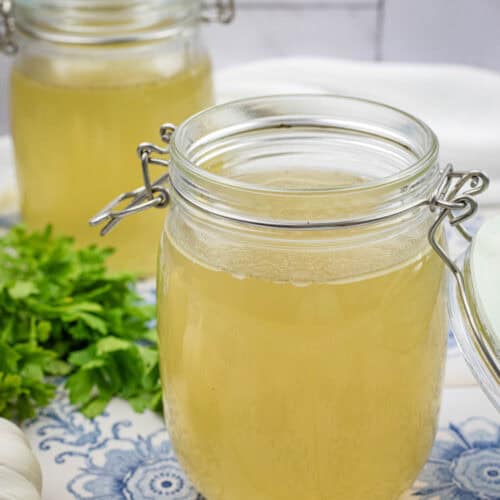
Homemade Chicken Broth
Ingredients
- 1 whole chicken cut up
- 2 carrots peeled and cut into chunks
- 2 – 3 celery stalks with leaves cut into chunks
- 1 small onion quartered
- 3 – 4 cloves garlic smashed
- 2 bay leaves
- 1 teaspoon whole peppercorns
- 14 cups water
Instructions
- Prepare your ingredients by cutting up the chicken and chopping the vegetables. Keeping the vegetables in large chunks helps them infuse the broth with flavor while making them easier to strain out later.
- Add the chicken pieces, carrots, celery, onion, garlic, bay leaves, and peppercorns to your Dutch oven.
- Pour the water into a 3.5 quart (or larger) Dutch oven, making sure it covers all the ingredients. If you have a particularly large Dutch oven, you can add a little more water, but the 14-cup mark is a good guide.
- Bring the mixture to a gentle boil over medium heat. Once it starts boiling, reduce the heat to low, so it reaches a steady simmer.
- Simmer uncovered for about 3-4 hours, uncovered.
- Skim off any foam or impurities that rise to the surface every so often. This will keep your broth clear and give it a cleaner taste.
- Check the broth’s flavor after a few hours. If it tastes rich and satisfying, it’s ready. If you prefer a more concentrated flavor, let it simmer a little longer. You may need to top up the water but some evaporation will help to condense the flavor.
- Strain the broth by pouring it through a fine-mesh strainer into a large bowl or another pot.
- Pull the meat from the bones once the chicken carcass is cool enough to handle. You can add the chicken to soups and stews or make chicken salad from it.
- Cool the broth slightly before transferring it to storage containers. For easy storage, portion it into smaller containers or freeze it in ice cube trays for quick access to smaller amounts.
Notes
Chef Jenn’s Tips
- Roast the chicken pieces and vegetables beforehand for an even richer, more complex flavor
- Leave the skin on the chicken for added flavor and richness, but skim off excess fat after cooking if desired. I chill the soup overnight and then the fat just peels off the top.
- Don’t rush the simmering process; low and slow is key to extracting deep flavors. You want a bare simmer – just a few bubbles breaking the surface.
- For a golden, clear broth, avoid stirring too much as it cooks, and skim the surface periodically
- Add herbs like thyme or parsley for added depth if you want a more aromatic broth
Nutrition
A Note on Nutritional Information
Nutritional information for this recipe is provided as a courtesy and is calculated based on available online ingredient information. It is only an approximate value. The accuracy of the nutritional information for any recipe on this site cannot be guaranteed.